
Even though there is some serious rust in the trunk of the Silver Hawk, it does not have to be immediately addressed. Luckily it is mostly confined to the area around the bumper and well. It will be necessary to drop the gas tank in order to adequately stop the rust and make any needed repairs. So for now I am going to continue with the battery relocation.
Relocating the battery to the trunk should be a fairly straight forward process right? Not necessarily. How many times have I done that? Zero. So the first thing to do is determine the routing of the battery cables and how many feet of wire to order. I am going to use 00 gauge wire which is plenty heavy to carry the load. I figure I will need 16 ft. of the Red positive cable so I ordered 18 ft. Just a few feet are needed for the negative side which will be grounded to the frame. Man that wire is expensive! I have gotten used to my personal MO for planning for any project over the years. I am fairly good at figuring close to what quantity of supplies or dimensions of parts are required so I get just a little bit more or make it just a little larger. It ends up just barely working regardless. I will let you know how I come out on the cable length. You may ask, “well why don’t you just do a little bit more on top of the final amount that you figured?” Believe me that would really mess up what little I have going for me. However I do pray a lot. So I will leave it at that.
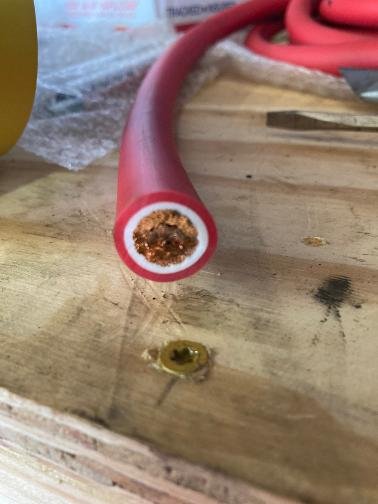
00 Gauge Wire With Heavy Oil Resistant Cover
The battery will be held in place by a racing style Aluminum billet hold down. I will have to drill through the upper part of the trunk and make a backup plate to sandwich it to the trunk core.
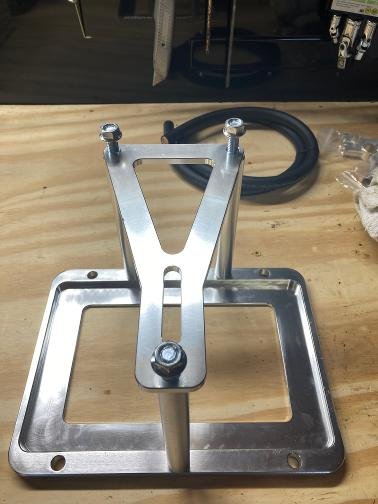
Aluminum Billet Style Battery Hold down.
I am fabricating the backup plate out of angle iron. I like to make a template out of card board so I can cut the angles more accurately.
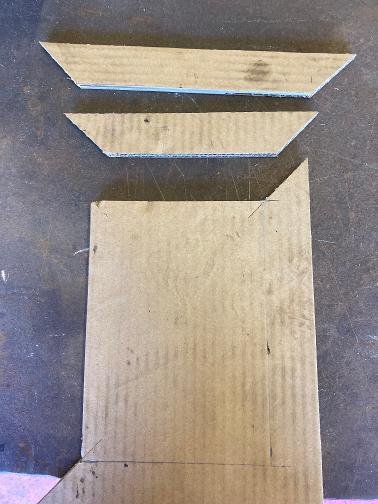
Card board templates.
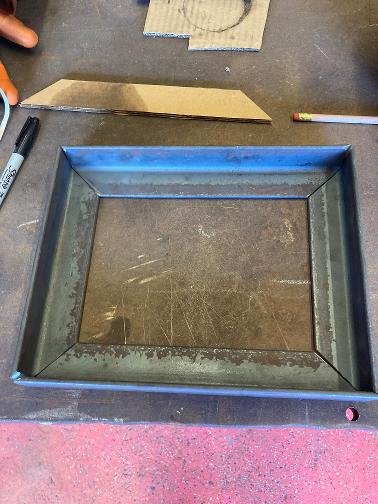
Frame Ready to weld
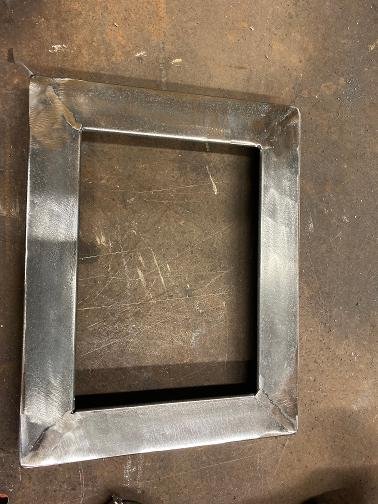
Finished welding
Now I have been looking for the best way to route the positive battery cable from the trunk to the starter solenoid. Wade said he ran his through the frame rail on his Super Bee. There are holes spaced in the frame ever so often on the Silver Hawk. So I took an electrical fish tape and ran it up the frame rail all of the way from the back to the front of the car. Looks like it is open all of the way.
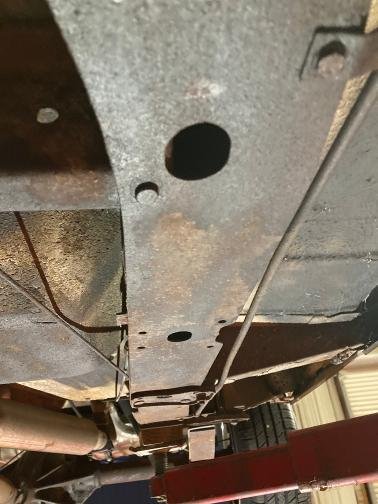
Frame Rail is open all of the way to the Front
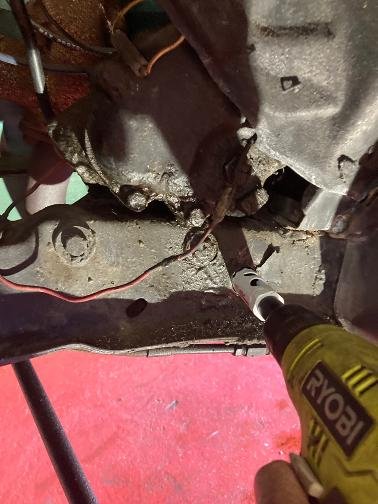
Drilling hole for access up front
So all I could do was guess about where to drill an access hole up front. I knew I wanted to get as close to the starter solenoid as possible and stay as far from the exhaust as possible. Of course the first hole I drilled was just past a bulk head that I could not get past with the fish tape. So I had to move a little ways farther back into the neighborhood of the brake master cylinder. I don’t really like drilling it so close to the pedal pivots but those pedals and the master cylinder will all be removed when I get started with the brake upgrades.
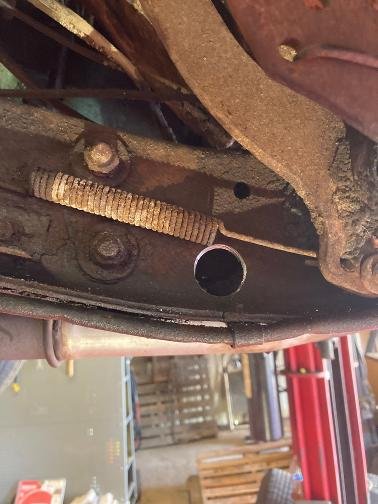
Battery Cable exit hole drilled just below clutch return spring. That will be going away soon anyway.
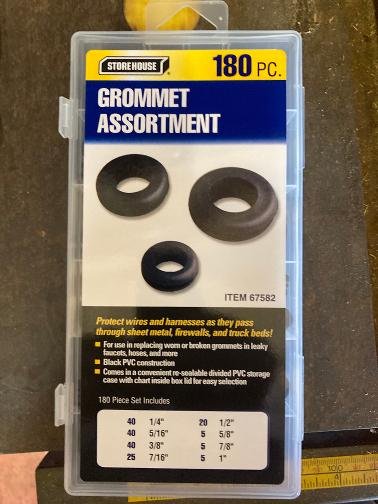
I will need a rubber Grommet to shield the cable. Get those from Harbor Freight
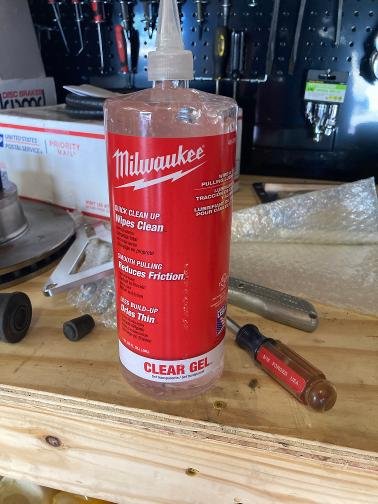
This stuff will make the cable slide smoothly through the grommet
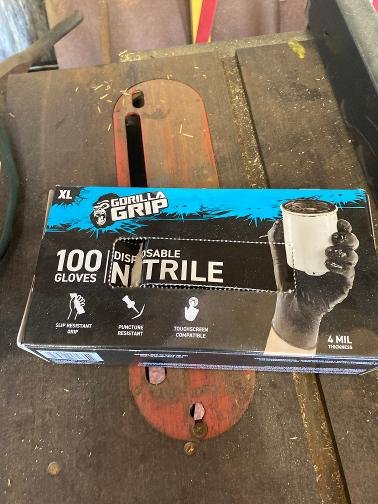
Rubber gloves are nice to have for that gooey gel. Hey they gave me all left hand gloves . No wait ,oh never mind.
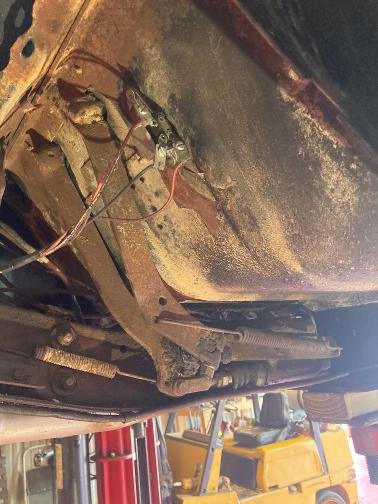
Hey does anyone know what that switch is up there on the firewall?
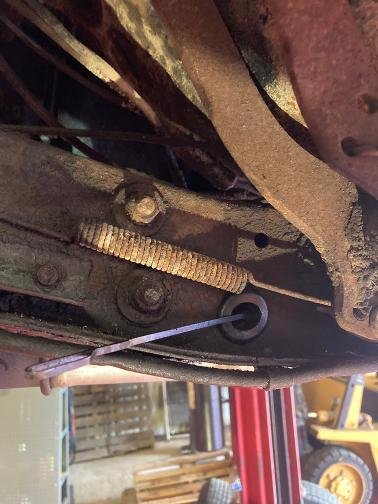
The fish tape ready to pull the cable from the front to the back
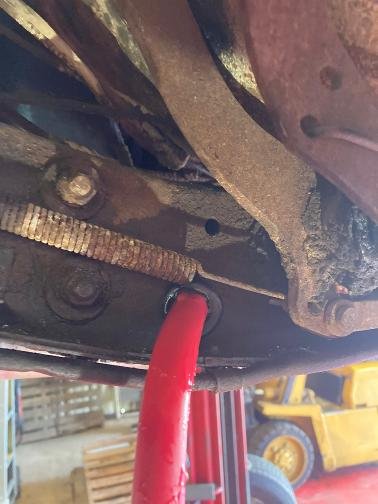
Man, trying to fish that wire through the frame rail by myself is tedious work. That cable fits a bit snug in the grommet. Fitting it on the bench it felt just loose enough but in real application it is not the case. I have to push it a little ways in and then go to the other end and pull on the fish tape. You need more than two hands. Sometimes I wish I had a pet monkey to help me. We would get along just fine, pretty much same IQ and all. I would send him to the other end. “Pull monkey pull.” I think I would get one of those Capuchin monkeys. They have those small little hands. He could get his tiny fingers up into those really tight spots and hold a nut in place for me while I screwed in the bolt. Shoot, I bet if I gave him a couple of extra bananas I could teach him how to use power tools. You know how they like to fiddle with stuff.
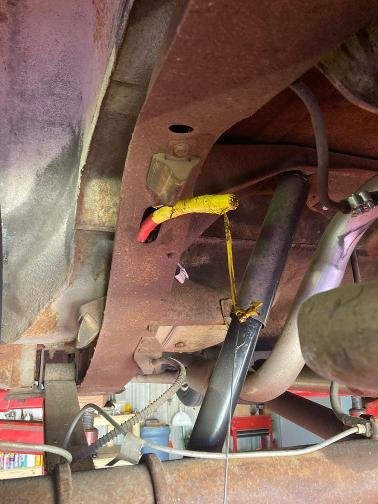
Finally got the wire through to the back
There, I finally got it pulled through to the back. I am getting tired of messing with that so I think I will pull the car down off of the lift and go work on mounting the battery hold down for awhile.
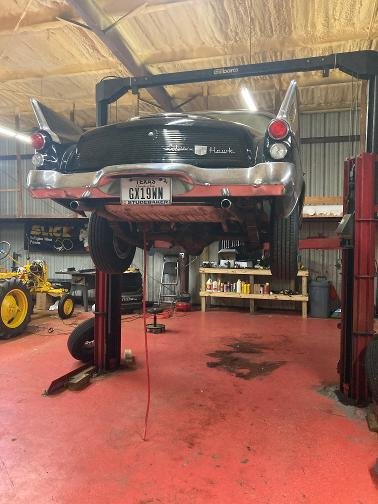
Just a couple of quick safety tips about using a car lift. When using a car lift you must remember this, a kiss is just a, no wait, you need to first lift the car about 6 inches off of the ground and then walk to the hood of the car and rock it up and down to be sure that it is balanced and will not shift on the lift. Believe me it is better to find out it is sliding at 6 inches than to be at 6 feet and have it slide off of the lift. Otherwise someone could get seriously killed. Also there is a safety lock on each side of the lift that needs to be engaged while in the air. Never trust the hydraulics to keep the car suspended. Also if you don’t engage the lock on both sides and leave the car suspended overnight then the car may be sitting side ways when you come in the next morning. How do I know that? I actually learned that from someone else. I have done some dangerous things in my life and it is hard to believe that I am still alive. I believe in guardian angels. There is simply no other logical explanation. So it is good to learn from your own mistakes, but even better to learn from others.
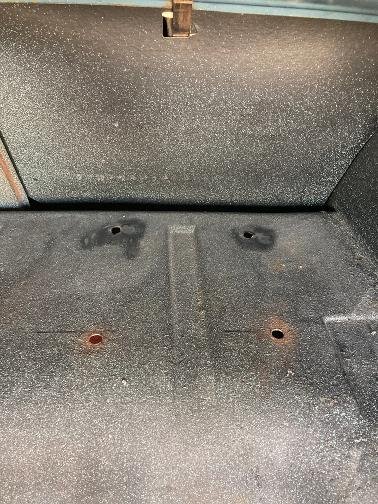
Mounting holes drilled in trunk
Let me tell you it was not real easy for an old man to get those holes drilled at the front of the trunk. The back firewall is slanted backward and so I have to use care in placement so I don’t get interference. There is just enough room for the battery box to fit.
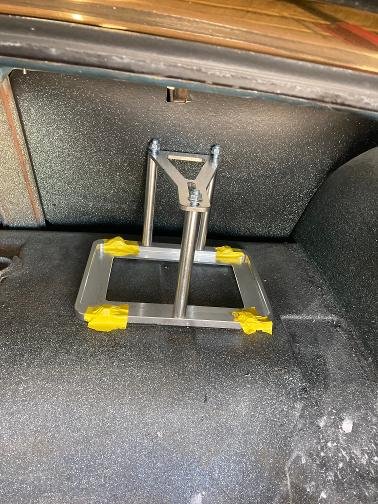
Tight fit because the firewall slants backward.
It sure would be nice to have that second set of hands about now. I had to tape the bolts down with that yellow tape so I could screw the nuts onto the bolts from the under side of the car. Sounds like a good job for a pet monkey. But guess what? There is a frame brace running all the way across the underside of the trunk right where the hold down is located. I did not notice that before, so poor planning on my part. That means I wasted a bunch of time making that back up plate. I will just have to cut the sides off and use the two long pieces for backup.
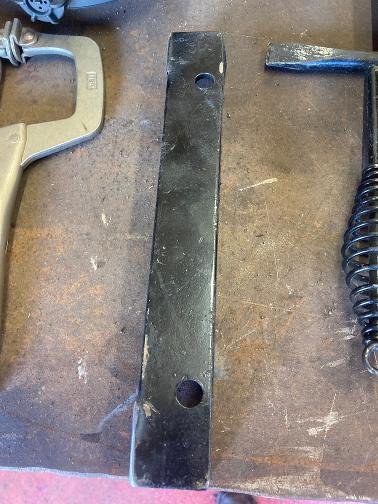
Had to cut the back up plate apart.
I know it seems like it is taking a ridiculous amount of time to do this but it is actually a little difficult to get up between the frame and exhaust pipes to get to those mounting bolts. Thank Goodness I have a car lift so I can stand up. I have to hold the backup strip against the floor of the trunk while trying to get a lock washer and nut started on each bolt with just one hand. There is just not quite enough room to get both hands where they need to be at the same time. Put on top of that the fact that I am more ambidextrous in my right hand than in my left and you need to be Houdini to get this done. That does it! Tomorrow I’m going down to the pet store.
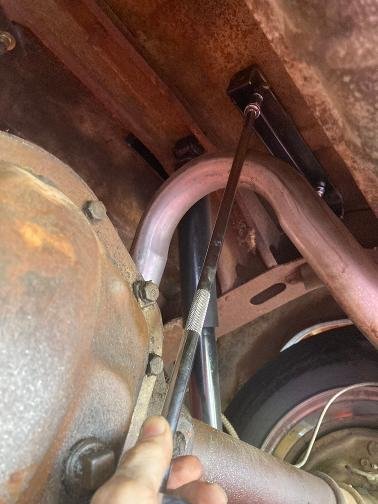
Thank Goodness they make these long extensions for the ratchet wrench.
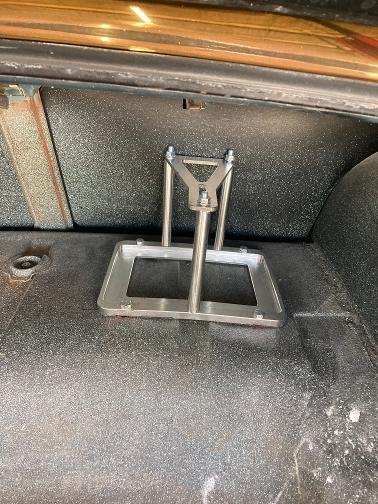
Battery hold down solidly in place.
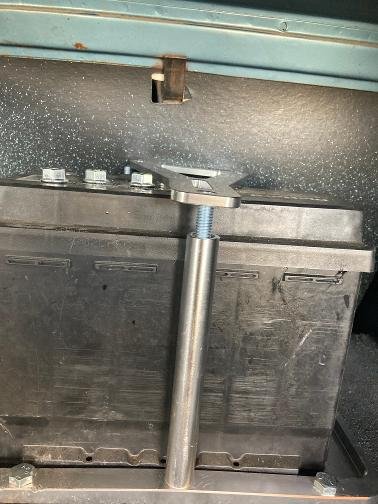
However the hold down studs are not long enough. Need some all thread.
I need to find the entry place into the trunk for the positive cable. So I drilled a small hole through the frame rail up into the bottom of the trunk to see where to drill the 1 inch access hole. I then used the 1″ hole saw to drill down through the bottom of the trunk and into the frame rail. Man it seems like I am having to drill way too far down. I can see in my mind sparks flying and the gas tank catching on fire. But for some reason the center will not come out of the hole. Oh no! I missed the center of the rail. I have drilled right on the edge of the frame rail. The hole saw has a pilot drill so now the disc that is supposed to fall out of the way is now blocking the hole. What are the odds of drilling right on the edge of the frame rail? With me it is 100 percent! How am I going to fix that?
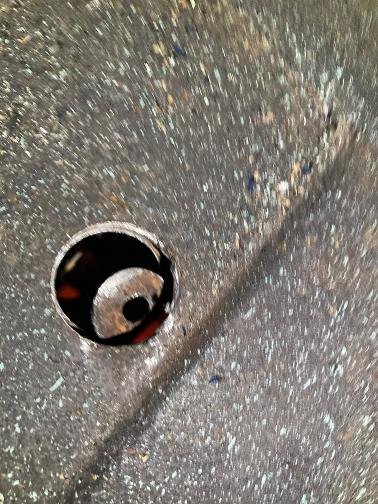
The edge of the frame rail is now hanging in the way.
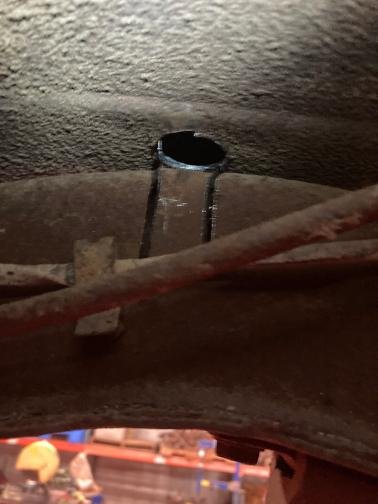
View from the underside
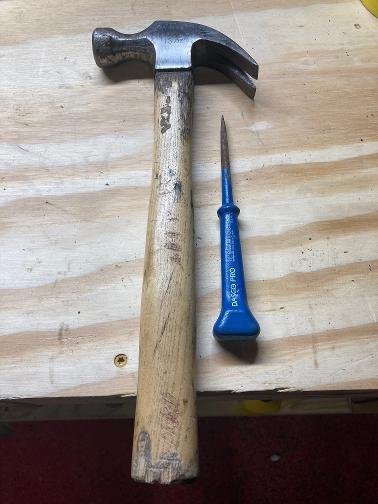
Hammer and metal drift
I have committed many sins in my time with a hammer and a metal drift. But sometimes a man has got to do what a man has got to do. I have to admit that It just feels good to bang away and get rid of some of that frustration.
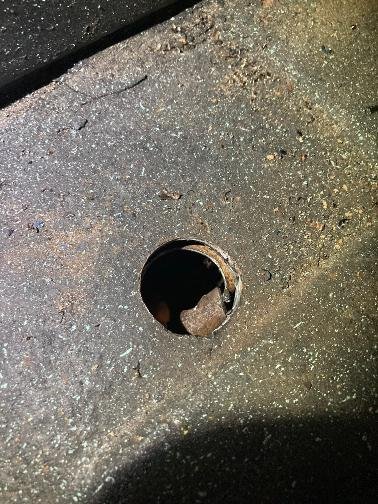
There. Fixed!
I don’t think I could get in there with the welder to fix that. But I don’t think it is deep enough to compromise the integrity of the frame rail. Fifty years from now when someone else is working on this car I can just imagine them saying, “Would you look at that. Someone must have had a pet monkey.”
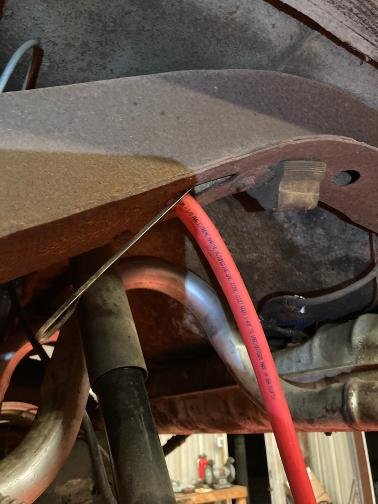
So now I’ve got to get the cable fished back up into the hole in the bottom of the trunk. Wish me luck.
I tried to pull the cable up into that access hole I drilled in the trunk but it is just too tight with that tab in the way. So I did the right thing and just drilled another hole. That is what they make hole plugs for.
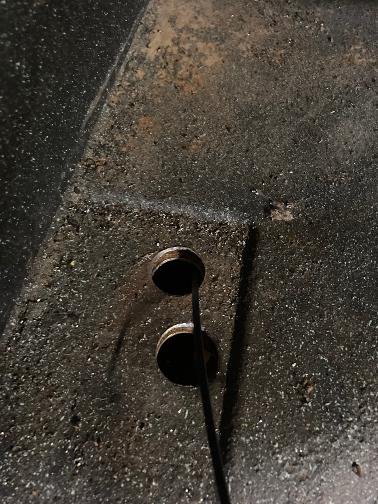
Had to drill another hole
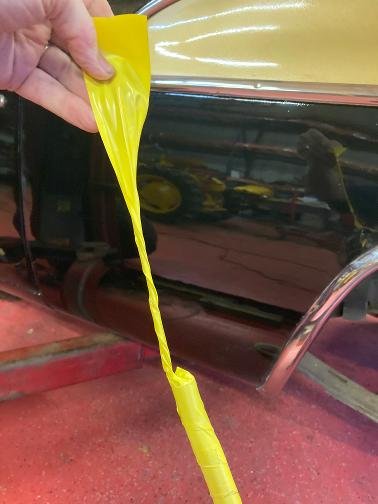
I’m sure you know this but you can make a pretty good pull tape by using this plastic tape and twisting the end into a string. Then you can just tie it to the end of the fish tape.
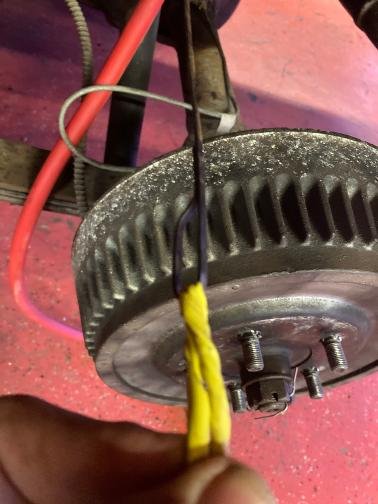
Just tie the tape to the end of the fish tape
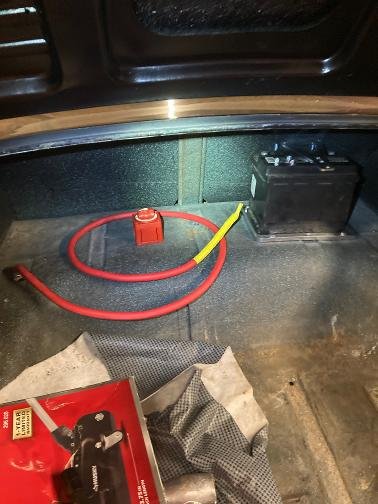
It looks like I will have just about the right amount of wire left to finish the positive side once I get the kill switch wired in.
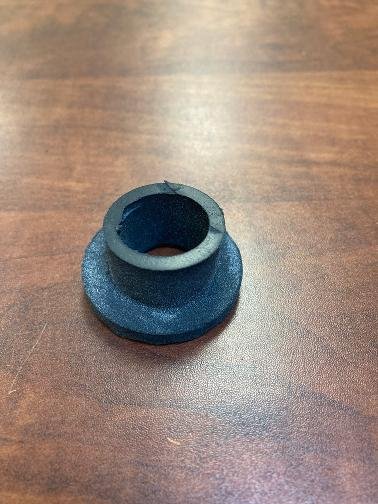
Had to make a special grommet for the frame rail
It helps to have the right tools to cut and crimp battery cable. I bought this set on Amazon for $50. Also it is good practice to heat shrink the terminal ends.
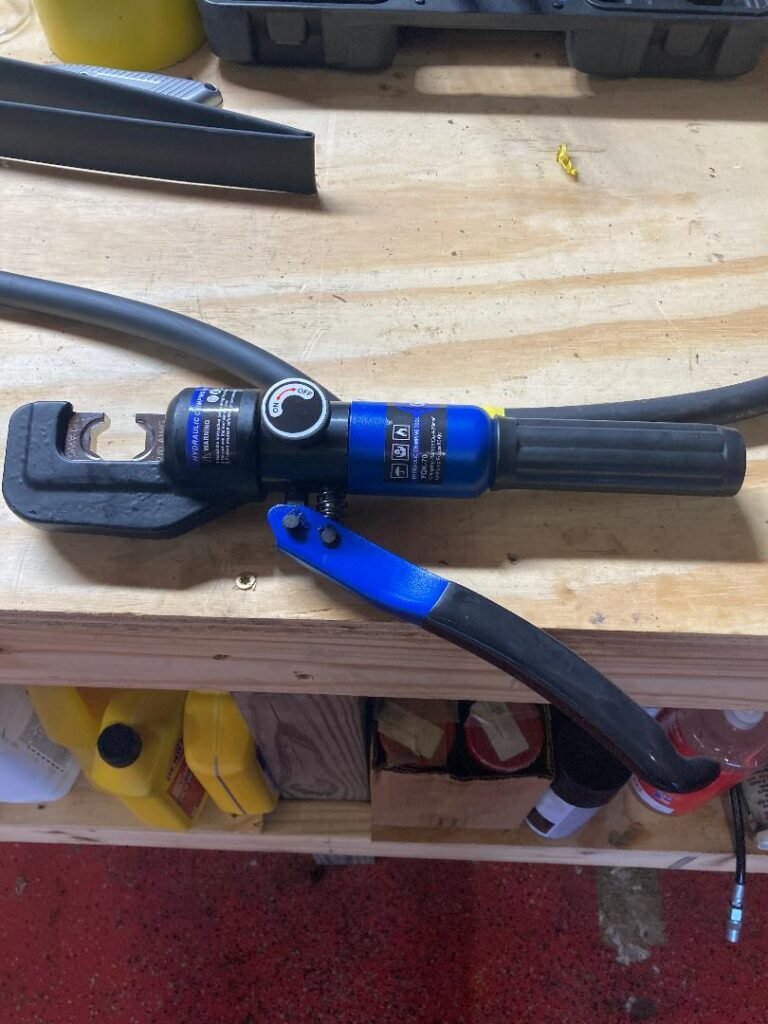
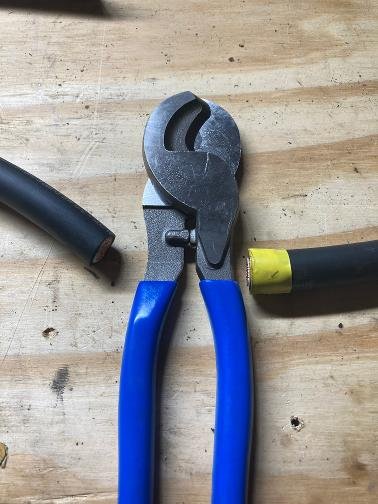
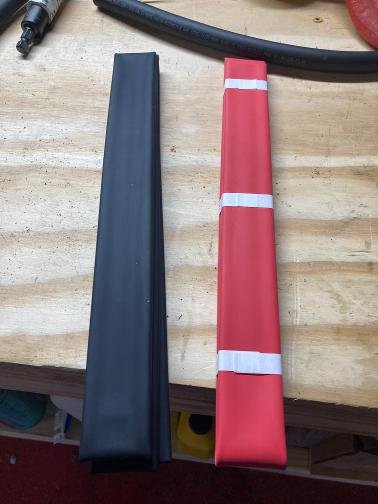
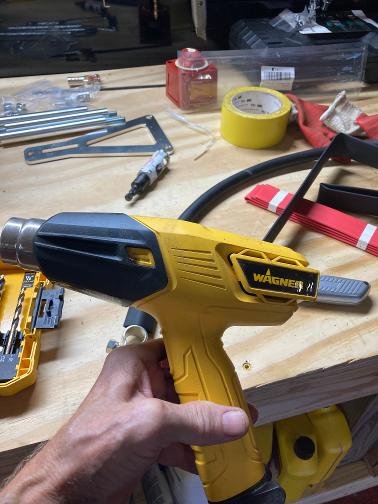
Heat Shrink Tubing and Heat Gun
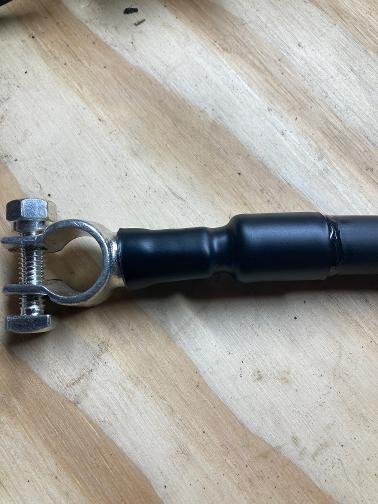
Finished Terminal End
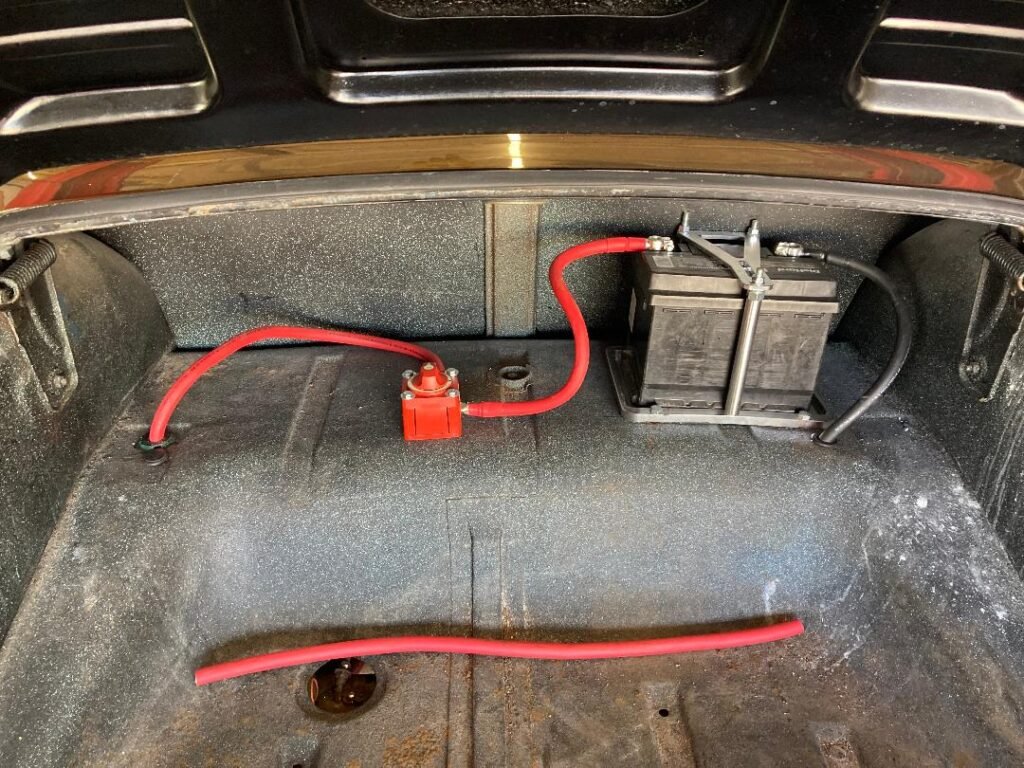
The Battery Transfer to Trunk is Complete. I have 27″ of wire left over.
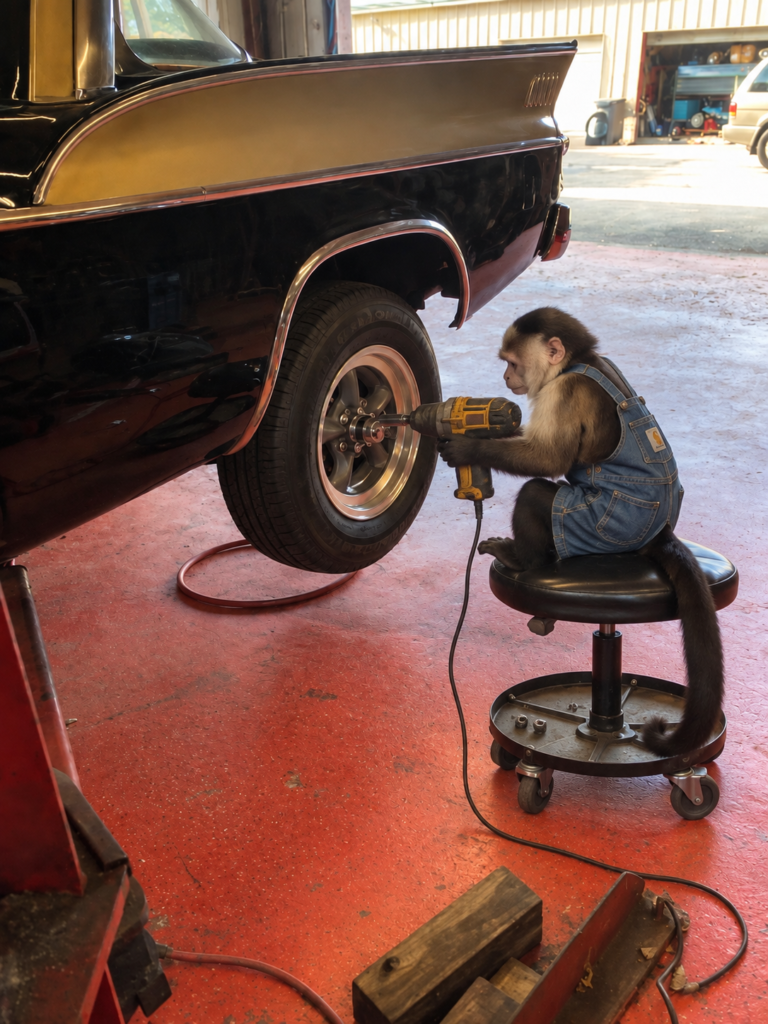
I suppose a guy can dream
